Quickstart
This quickstart is for the live Aoexl product workflow a sender actually uses.
If you want to run the monorepo locally or embed the SDK inside your own app, use SDK Quickstart instead.
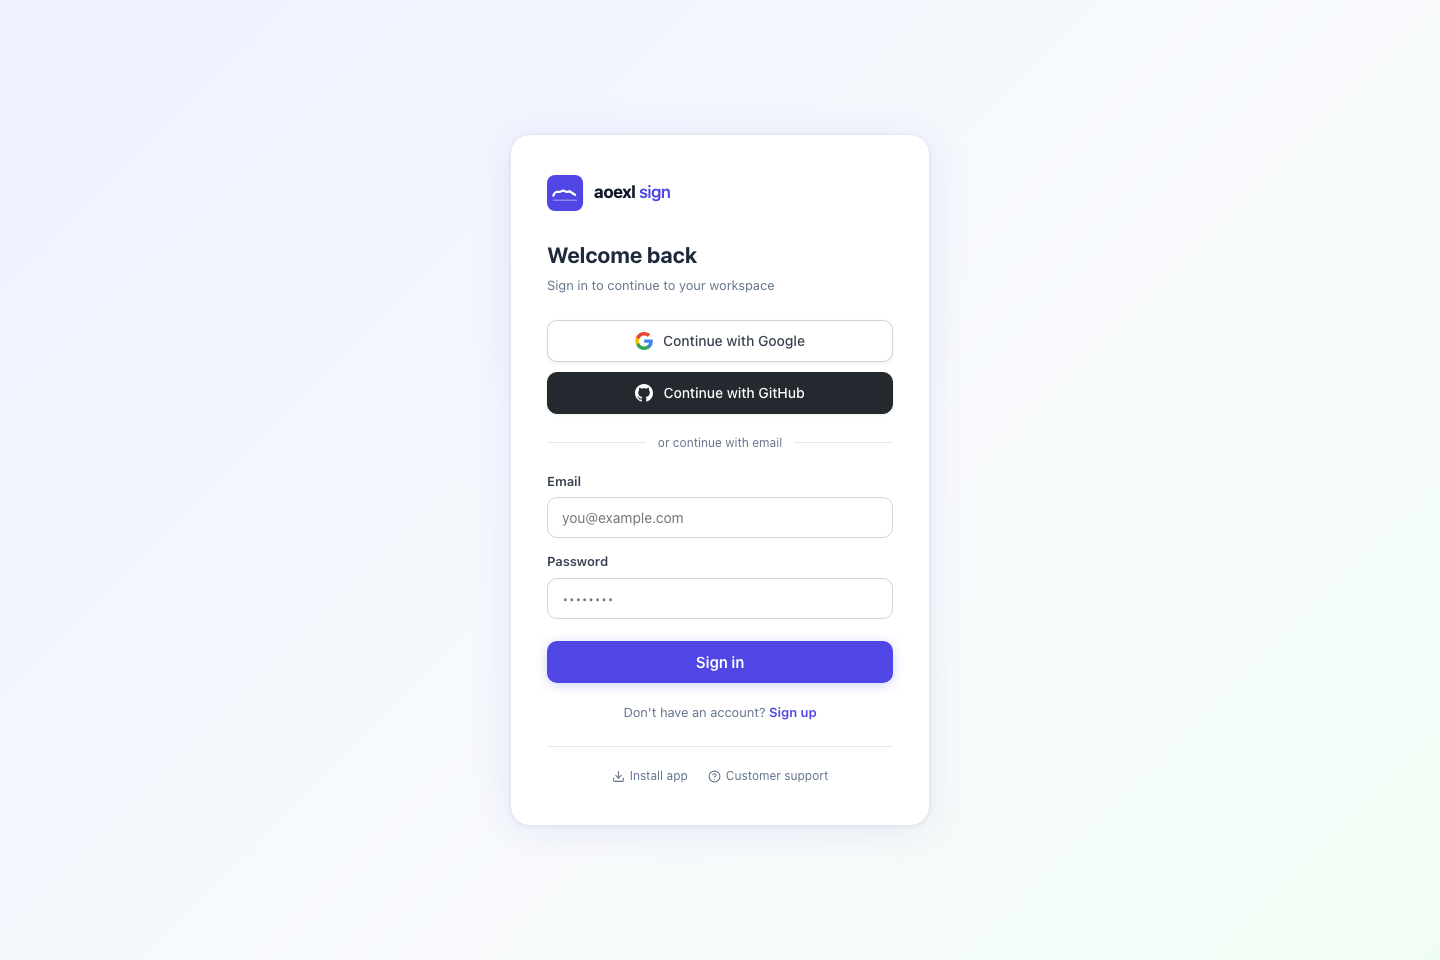
1. Sign In To The Hosted App
Open the live sender app and sign in:
After login, you land in the sender workspace dashboard.
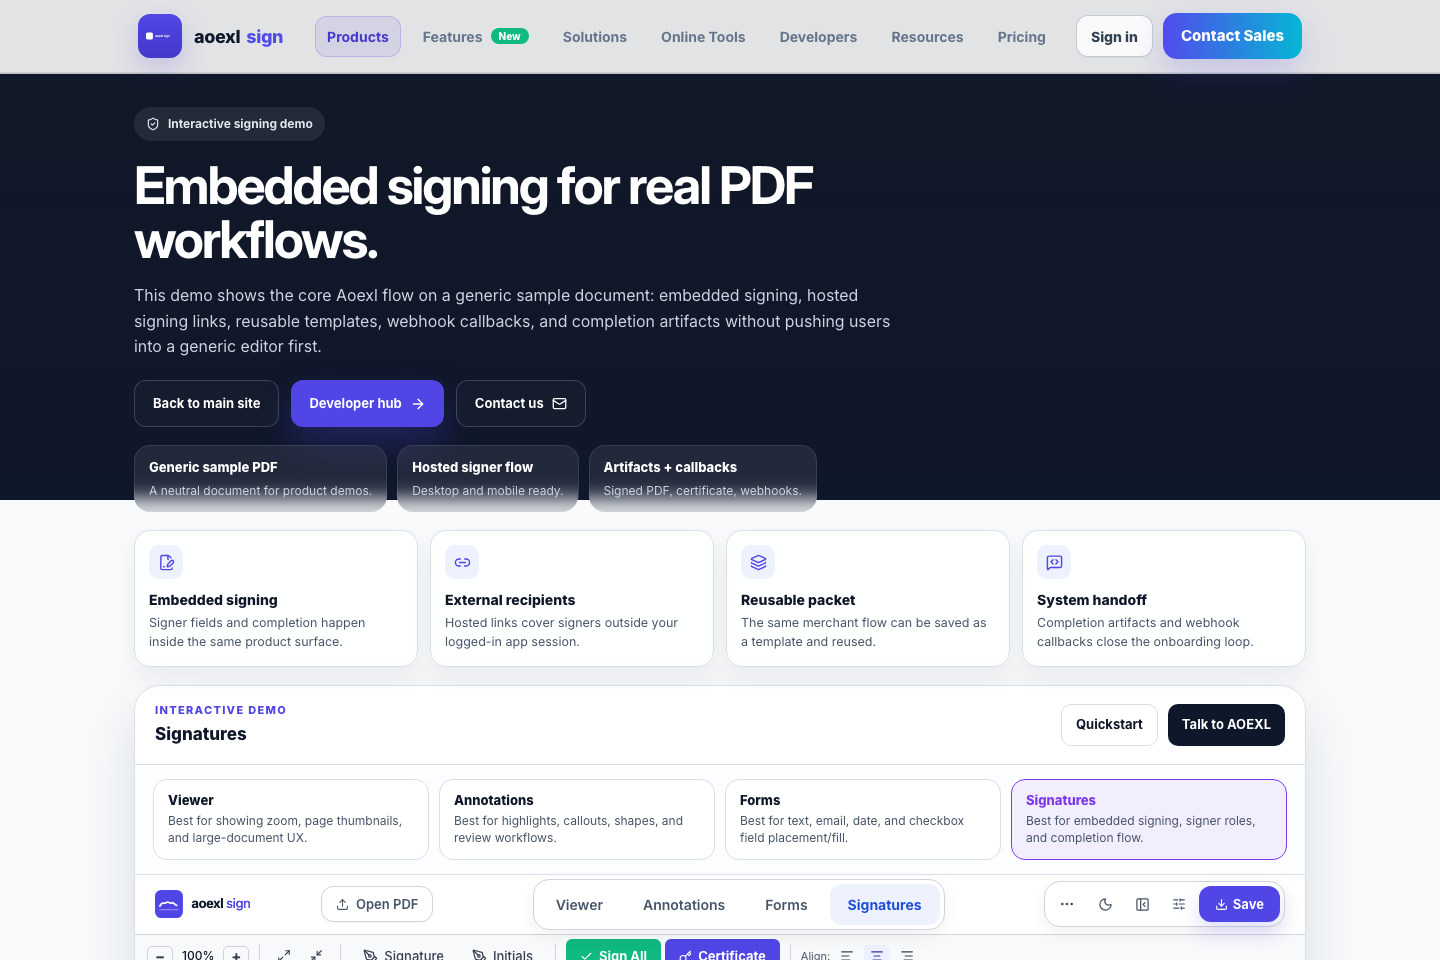
2. Start From The Dashboard
The dashboard is the operational home for senders. From here you can:
- create a new document
- open templates
- review hosted signing requests
- access PDF tools
- inspect request status, signer progress, and completion state
This is the app surface the public quickstart should describe, because it matches the real hosted workflow instead of local development commands.
3. Prepare A Document
- click
New Document - upload a PDF
- place signature, initials, date, or text fields
- save the document state
If the document will be reused, save it as a template from the prepare screen.
4. Send A Signing Request
From the send flow, add recipients and choose the routing mode:
parallelwhen all signers can act at oncesequentialwhen later signers must wait for earlier ones
Aoexl creates hosted signing links in this shape:
https://sign.aoexl.com/sign/<token>If email delivery is enabled and configured, the app sends the link to recipients directly.
5. Track Request Status
Back in the dashboard, the hosted signing requests table shows the live lifecycle for each request:
sentcompletedcancelledexpired- verification state
- email state
- active signing link / validity state
This is where senders resend, cancel, reopen, duplicate, or inspect request details.
6. Completion Artifacts
When a request completes, Aoexl can:
- store the signed PDF
- generate a completion certificate
- keep the certificate standalone or optionally append it into the signed PDF
- emit webhook callbacks for downstream systems
- preserve signer/audit metadata for tracking
7. API And SDK Paths
Use the hosted app when:
- your team wants the full sender workflow
- recipients sign through hosted links
- you want sender-side request history and operations visibility
Use these next if you are integrating Aoexl into your own product:
8. Local Development Note
Local monorepo commands such as npm run dev --workspace=pdf-esigner are intentionally not the main path in this public quickstart because they are for internal development or SDK validation, not for end users of the hosted product.